Capability
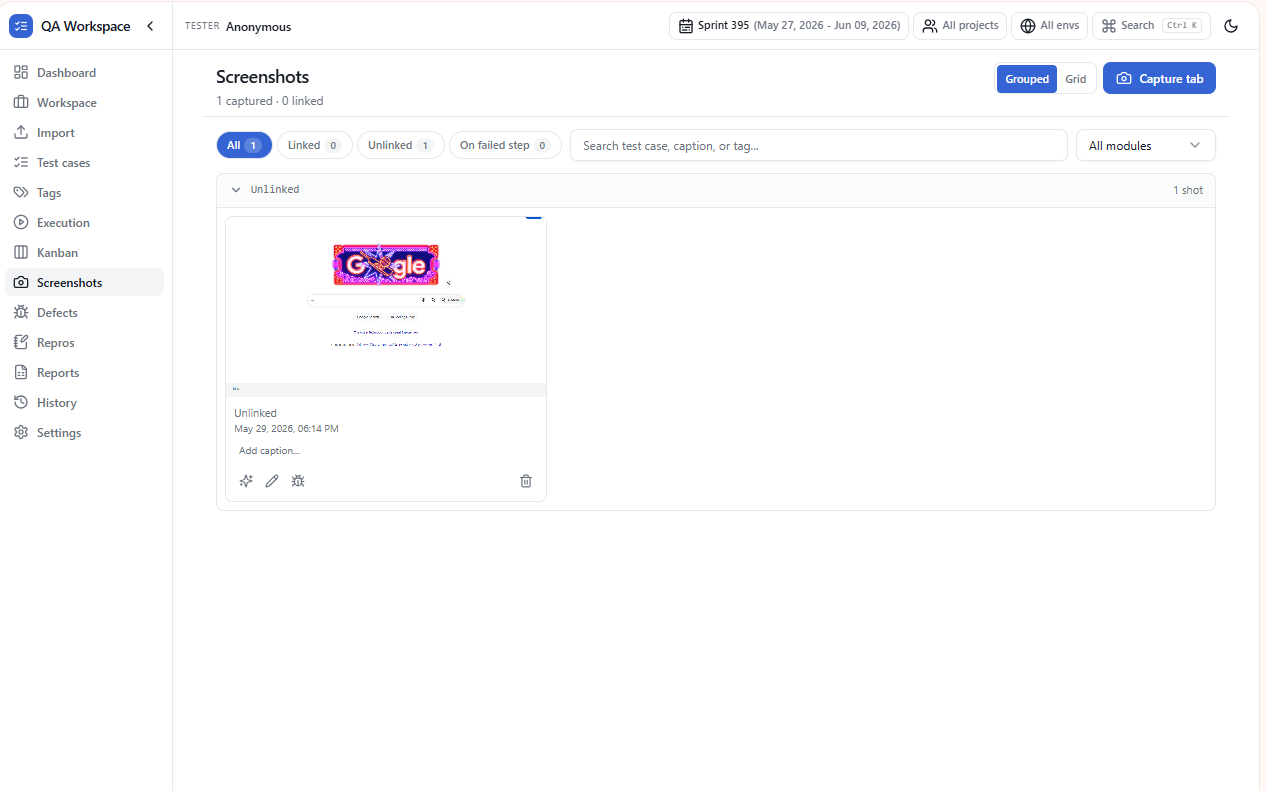
Screenshot capture
Capture evidence the moment you see it. QA Workspace ships with a built-in screenshot engine that attaches images directly to the active test step or defect — no second tool, no upload, no cloud round-trip.
Three capture modes
- Visible area — what the active tab currently shows.
- Full page — auto-scrolls and stitches the entire scrollable document.
- Region — drag a rectangle to capture exactly what matters.
Attached automatically
Every screenshot is bound to the step or defect that was active when you captured it. Reports include the image inline with the step result, expected vs. actual text, and timestamp — no manual filing.
Annotate before saving
Add arrows, boxes, blur regions, and short labels to highlight the failure. PII blur tools let you hide names, account numbers, or tokens before the image enters your report.
Use cases
Evidence for every step
Press Alt+S in the runner — the screenshot binds to the active step automatically.
Capture from any tab
Alt+S works while focused on the host page too — the side panel still grabs the visible tab.
Annotate before saving
Drop arrows, blur PII, and add labels in the same flow — see the annotator page.
Link from the gallery
Captured something unlinked? Use the link button on any screenshot to attach it to a suite, test case, and step — or re-link it later.
Copy to clipboard
The copy button puts the image on your clipboard so you can paste it straight into Jira, Slack, or a doc.
Tips
- Side panel closed? The companion overlay handles Alt+S locally and shows its own caption dialog.
- Every screenshot in the gallery has a copy button — paste the PNG anywhere with Ctrl/Cmd+V.
- Use the link button to move a screenshot to a different test case or step whenever you need to re-file evidence.
- Every screenshot has a tab URL stamped on it so you can prove where the evidence came from.